【 Illustrator Tutorial 】Create Auspicious Cloud Patterns in Illustrator in 3 Steps with the Enhanced Spiral Tool

Whether designing Lunar New Year cards, Japanese-style (wafuu) packaging, or adding an Oriental aesthetic to illustrations, “Lucky Clouds” (Xiangyun) are a widely used and recognizable graphic element.
The key to these patterns lies in the precise proportions and smooth transitions of spiral curves—details that can be difficult to control manually. This guide demonstrates how to use the IllustKit Enhanced Spiral Tool to create structurally balanced and proportionally consistent Lucky Clouds in three steps.
💡 Why Choose the Enhanced Spiral Tool?
Before getting started, the following comparison outlines the differences between the native Spiral Tool and the Enhanced version in a practical drawing workflow:
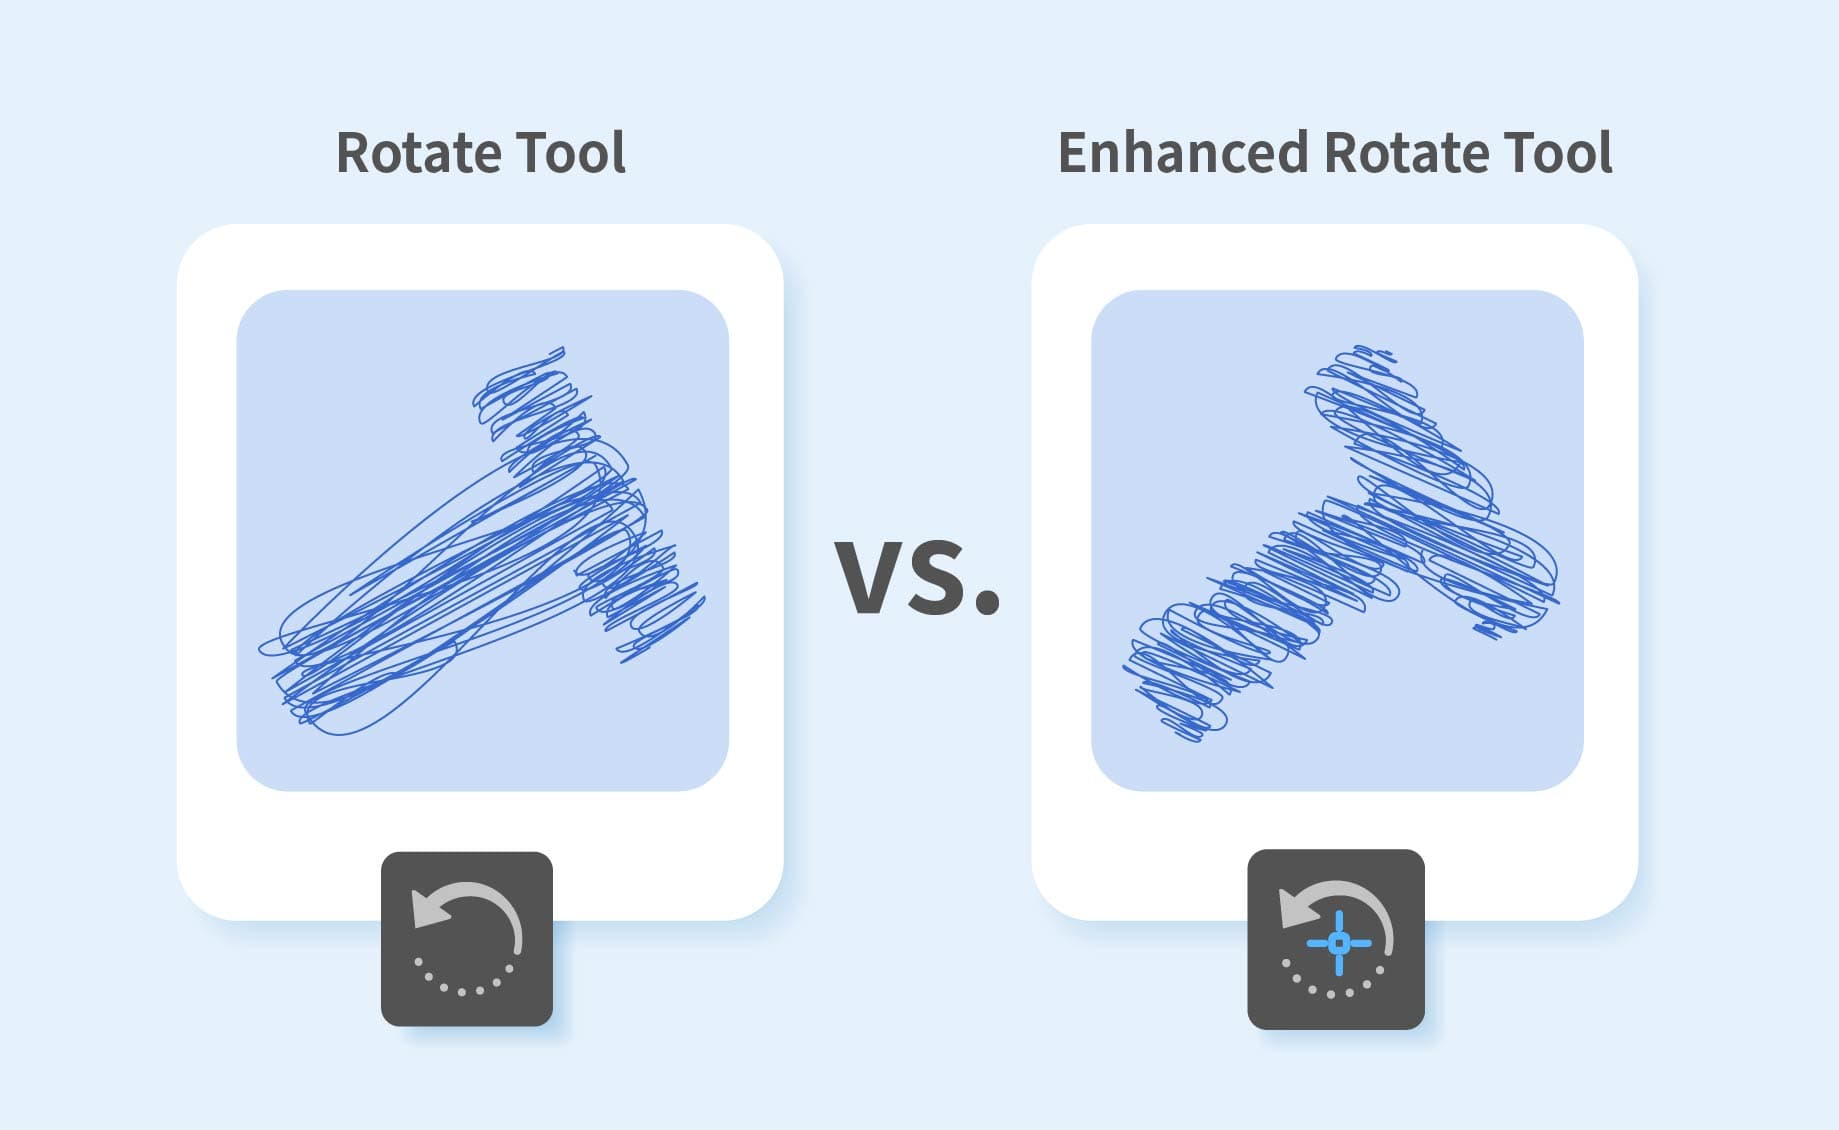
Native Spiral Tool:
The initial point of the spiral is difficult to control precisely, often requiring additional repositioning and rotation after creation.IllustKit Enhanced Spiral Tool:
Drawing begins from a defined starting point. With support for anchor point snapping and real-time parameter adjustments, the position and shape of the spiral can be controlled directly during the drawing process.
Further Reading➡️ Struggling to Precisely Position Spiral Paths in Illustrator? Set an Exact Starting Point with the Enhanced Spiral Tool
Step 1: Construct the Base Cloud Shape
First, use the Ellipse Tool to draw multiple circles or ellipses of varying sizes. Arrange them in a staggered or overlapping layout to define the basic silhouette of the cloud.

-
Step 2: Create a Flowing Cloud Tail and Merge Paths
Next, add a cloud tail to extend the overall silhouette:
Use the Pen Tool or Pencil Tool to draw a curve extending outward from the main cloud shape.
Use the Width Tool to adjust the stroke. Increase the width near the base of the cloud and taper the outer end to create a smooth, flowing form.
Apply Expand Appearance to the cloud tail stroke. Then select both the tail and the previously created ellipses, and use Pathfinder → Unite to merge them into a single shape.

-
Step 3: Add Decorative Lines with the Enhanced Spiral Tool
Finally, use the IllustKit Enhanced Spiral Tool to add decorative spiral elements:
Enable Smart Guides to allow the cursor to snap to existing anchor points. Click to start drawing a spiral from the desired starting point.
While dragging, use the Up / Down Arrow keys to increase or decrease the number of segments. Hold Ctrl / Cmd to adjust the decay (tightness of the spiral) in real time.
Double-click on the canvas to toggle the rotation direction (clockwise or counterclockwise), then continue adding the remaining spiral details. Once completed, the Lucky Cloud shape is fully constructed.